All,
Sorry for the delay, but sometimes the day job gets in the way of fun!
Here’s what I have done and I’m sure you all may find better ways of accomplishing the same effect.
The picture frame it self, I used ¾” thick stock for the 8”X 10” litho. Cut a rabbit 3/8” wide by 9/16” deep in order to recess the litho and light frame from behind.
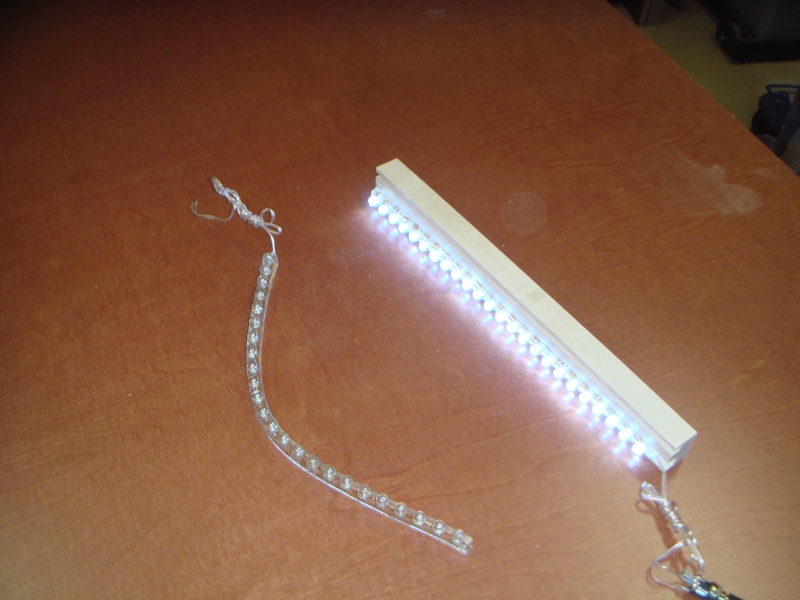
The lighting is 12” 24 led flexible strips placed into a frame built to fit within the rabbit of the picture frame. For lack of a better name let’s call this the light frame.

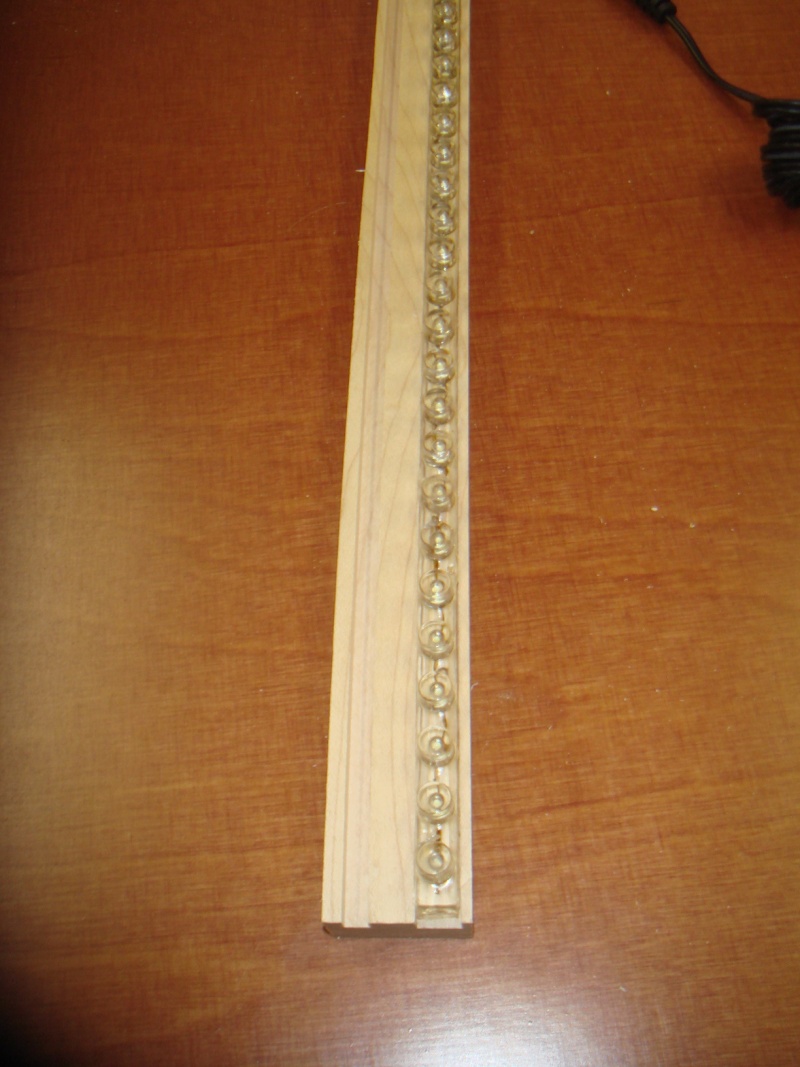
For the light frame used 1” x ¾” stock and cut two dado’s one closest to the litho to hold the led strips and the other the back board to close it all in.

Recessed and drilled one of the shorter sides to hold the power & switch, then hot melt glued the led strips in place along with the small amount of leads for the led’s. ( silicone will work also just longer dry time)
Inserted the light frame into the picture frame which is held in with 28 gauge pins
Observations :
I used the long side of the frame to mount the led’s as to get the maximum light into the enclosure, also since the litho was in landscape it looked better being lit from the top & bottom.
Also mounted the power & switch on the side rather then straight out the back of the back board as to minimize the depth for wall hanging. Now if I was too have this as desktop frame then would have come out the back.
Used white melanine for it’s reflective properties for the back board
As I stated earlier I sure you may find better ways of achieving a similar effect , experiment away and share your work!
I have ten more of these to make so as I progress will post more detailed photos of the steps.
Hope this helps & thanks for looking!
Ron

 Latest images


 Wed Feb 04, 2015 4:02 pm by Ken Schwendinger